Fullscreen Fade Effects

OK. We got Sprites. We got Backgrounds. What else?

I hear that the third (and final) graphical layer is “Window”. So a bit of reading and that looks like it’s useful for HUD style content (to save sprites – the Game Boy can only display 12 of those in any row). Out-of-the-box it starts at the top left of the screen but while reading up I found some clever shenanigans on a forum to get it placed at the bottom instead. Useful stuff, but I didn’t fancy doing HUD stuff tonight.

I fancied playing with that “fade” effect you often see in games. It’s apparently super useful when replacing whole screens to prevent glitchy behaviour. i.e. you fade it to a single colour, replace the screen content, and fade it back in. Looks cool, and hides quirks.

Let’s do that with a background.

I need an image to play with, so I grabbed a picture of Thom Yorke from the “No Surprises” video (because who wouldn’t want a tiny Thom trying not to drown in their Game Boy?) and set about converting it to a useful format. In GIMP of all things.

So “The GIMP” has certainly moved on since I last used it (maybe 15 years ago?). At first I did so to follow a tutorial on displaying full screen images which failed when I found that there’s no way to get the pre-requisite pcx2gb.exe to run on my 64-bit Windows machine. Oh well. Still, the brief diversion into The GIMP did re-open my eyes to the concept of dithering (the colour palette trick) so I was able to process a nice image in the correct dimensions at a reduced palette.

Thanks, The GIMP! I should never have left you for Photoshop

Right, so getting it into a Game Boy format. Well pcx2gb didn’t work, but thanks to an old post and the Internet Archive (I’m sensing a theme here) I dug up a REALLY neat online tool for generating the tiles and the map! I should try and grab a copy before it goes away forever.

Paste that data into a .c file, write a super-basic loader and ta-da!

You can’t see it, but this image’s filename is thom_boy.png

(Why the border? Well, the Game Boy has limits, and enough unique tiles to fill the whole screen is just too much. Giving it a 1-tile border allowed a single tile to be repeated all the way around, vastly reducing the number of unique tiles needed.)

Let’s make him fade.

As usual, it didn’t take long to find a great example. I’d already read up on the principles of how it’s done (palette swap each colour towards the lightest/darkest one) and some kind person calling themselves “cabbage” uploaded some sample code.

It didn’t take long to pull apart, reassemble, and integrate onto my little test project.
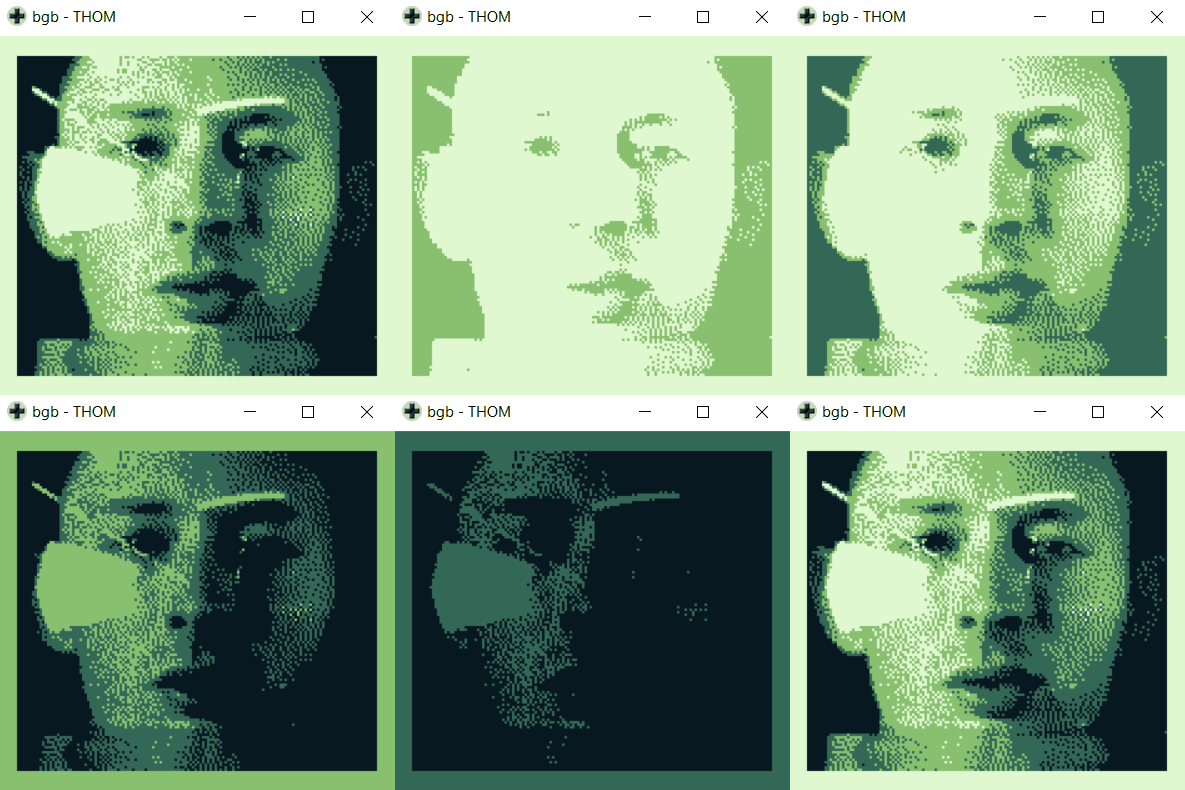
Faaaaaddeee Ouuuuuuttt aggaaaaaaaaaaaaaaaaaaain
(Yes, I know that’s not this song)
(Yes, that’s why I thought of using Thom

Time Spent: About 1.5 hours. A lot of which was finding tools, installing GIMP and playing with Thom’s face.
My first bug! (Also 60fps background scrollers)

[Epilepsy trigger warning – weird repeating pattern gif at the bottom of this post]

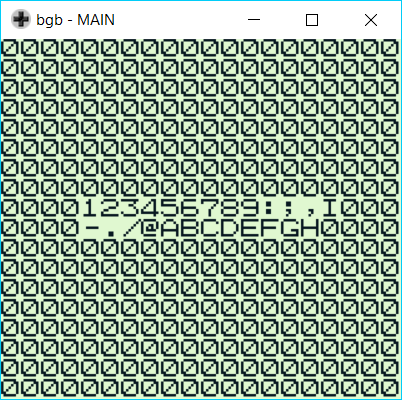
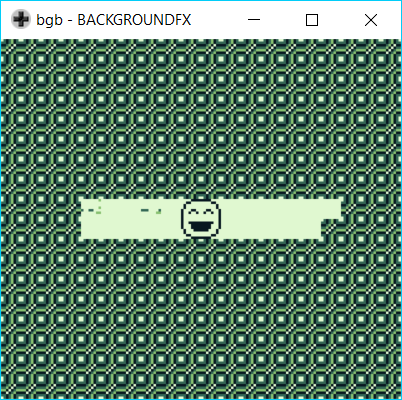
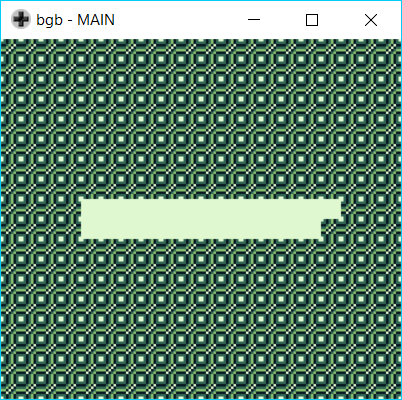
That sprite work yesterday got me pumped up on my own sense of achievement, so I confess that after posting last night I leapt right into playing with backgrounds. There was an equally straightforward tutorial. I’ll just make a little tile and shove it behind my little speaky character. How hard could that be?

I… what?

Check code, recompile, recheck code, recompile, rejig code, recompile.

Well at least that grinning sprite has gone. He really wasn’t helping.

Go back and take the tutorial code verbatim.

o_O

OK, what the heck is going on here? Basically I spent about 2 hours doing everything I could possibly think of from adding delays and re-draws in the code to installing different emulators and running on that (and it worked in a worse emulator than BGB!). I was stumped. So I went to bed.

Woke up with a couple of ideas (they didn’t work) and so, for the first of what I expect will be many occasions, I turned to the community and got put on the right track. And learned some stuff! Winner! For all the details, read the community thread.

(Aside: If you spotted that the weird area correlated to the size and position of the “Nintendo” text that appears when you boot the Game Boy, you get 10 points.)

For what it’s worth, there was actually little straightforward instruction on what I learned out there on the web, so I took the time to be a good citizen and post my learnings more concisely over in the thread. My goal right now is not to write tutorials, but perhaps these snippets will help future newbies get up to speed that little bit faster during those crucial early days of a new hobby.

Well said, Jake.

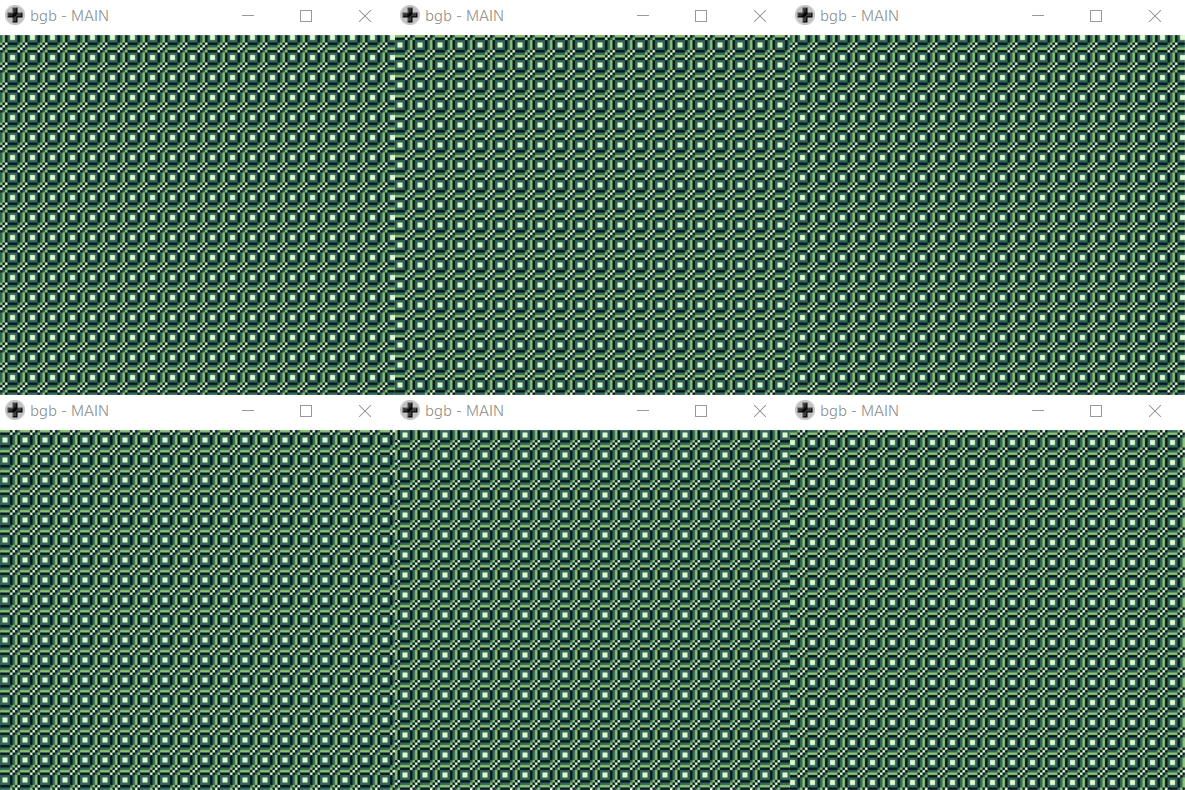
So today I not only got backgrounds working, I also made it scroll in glorious 60fps! Unlike this nightmarish, janky GIF representation:

I can make Game Boys do what I cannot make GIFs capture properly

Time Spent: About 2 hours getting confused and irritated, then an additional 1 hour learning useful things and implementing something to give you a headache.

Sprites! They seem important!

If I’m going to make a game, I’m relatively sure I’m going to need to understand sprites, those little graphics that animate and/or ping about the screen so you know what’s going on.

Handily there’s already a good tutorial for that, so I went through that with a couple of differences, rebel that I am.

I won’t reiterate the contents of the tutorial, but suffice to say that Gameboy Tile Designer is a neat tool and this whole process was an absolute doddle.

eBoy are safe… for now.

The tutorial ran like a dream (once I remembered to export the right number of tiles) and I made a slight variation in order to animate both 8×16 parts of the sprite (as the mouth covers both). I also added basic animation.

#include <gb/gb.h>
#include <gb/drawing.h>
#include "speaky.c"

void main() {
	int speaky_x = 75;
	int speaky_y = 75;
	SPRITES_8x16;
	set_sprite_data(0, 8, speaky);
	set_sprite_tile(0, 0);
	move_sprite(0, speaky_x, speaky_y);
	set_sprite_tile(1, 2);
	move_sprite(1, speaky_x + 8, speaky_y);
	SHOW_SPRITES;

	while(1){
		speaky_x++;
		speaky_y++;
		set_sprite_tile(0, 4);
		set_sprite_tile(1, 6);
		move_sprite(0, speaky_x, speaky_y);
		move_sprite(1, speaky_x + 8, speaky_y);
		delay(500);
		set_sprite_tile(0, 0);
		set_sprite_tile(1, 2);
		delay(500);
	}
}

Incidentally, the character is called “speaky” because I was considering making it open and close its mouth on keypress, making lines of dialog appear. However, with this movement it now reminds me more of something else…

Time Spent: About half an hour.

Hello World. So far so good…

Time to get set up!

Barring a quick diversion into a charged thread on how good or not good GBDK is (spoiler: it’s good enough for me!), I got the tools set up.

Pretty simple so far. Grabbed the latest win32 GBDK, extracted it somewhere sane for command-line work, nabbed a recommended emulator called bgb and tested it all by compiling the examples. So far so good…

So let’s see if I can get some code running.

#include <gb/gb.h>
#include <gb/drawing.h>

void main() {
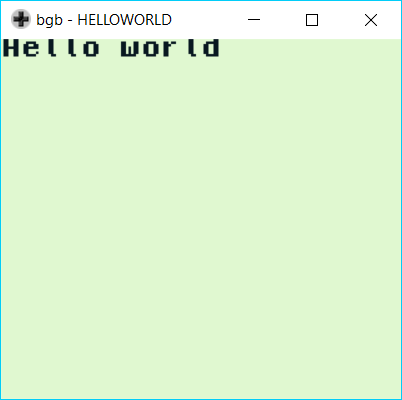
    gprintf("Hello world");
}

aaand…

Classic, no?

So the tools work. I guess the rest is up to me…

Time Spent: about 45 minutes

Doing the Research

OK. Decision made. But not without looking into it.

While mulling it over during the Easter break I had a google around to see what kind of challenge I’d be setting myself up for. Turns out that the Game Boy homebrew scene is alive and well, so there’s loads of information out there.

Probably the most impactful information I found was the existence (and popularity of) GameBoy Developers Kit (GBDK), enabling development of native Game Boy programs in C. This was the real moment where I felt that this challenge was within my grasp and worth pursuing, as trying to learn the concepts and limitations of the platform AND assembler at the same time would likely polish me off pretty quickly. Thanks, GBDK!

Fuelled by my own enthusiasm I dug in, got bookmarking and found a fair bit…

The biggest find (apart from GBDK) was, without a doubt, this post-mortem write-up of someone who has taken this journey before me. “Doctor Ludos” and his experience developing the original game “Sheep It Up” *and* committing it to cartridge. Some really great insights in there and tremendous inspiration.

So what’s next? Well, I’d better decide on what kind of game I’m making. Actually, inspiration struck over the Easter weekend too, but I’ll have that for the next update.

Fun discovery: Wichita State University did a course on Game Boy development, still online here thanks to the Internet Archive.

Time Spent: Lots of bits and pieces, but altogether probably approximately 2.5 hours.

I’m Going To Write A Game Boy Game

I’ve been scratching around for a new hobby and made a decision:

By Christmas this year I will write a Game Boy game capable of running on the original Nintendo hardware.

There are multiple reasons why, which I won’t bother going in to now, but as the original “grey brick” Game Boy turned 30 this Easter weekend it felt like an appropriate aspiration.

So I’m going to attempt the following:

  • The game should be reasonably polished – that means playable, has a title screen, some music etc.
  • I’m going to go for a C-based workflow. Starting with assembly will be a bit much for my level, and the newly released (and awesome looking) gbstudio.dev relies on me having a great idea for a JRPG, plus I want to try some reasonably heavy coding.
  • I will keep a brief diary of my progress as I go, which is what this thing is.
  • If I succeed in doing this, I will buy myself a fancy flashable cartridge and play it on our original childhood Game Boy (initially owned by my brother, now in the possession of my sister).

I’ll cross-post a few things to twitter. If you know anything (or anyone who knows anything) about these kinds of things then do reach out – or just cheer me along!